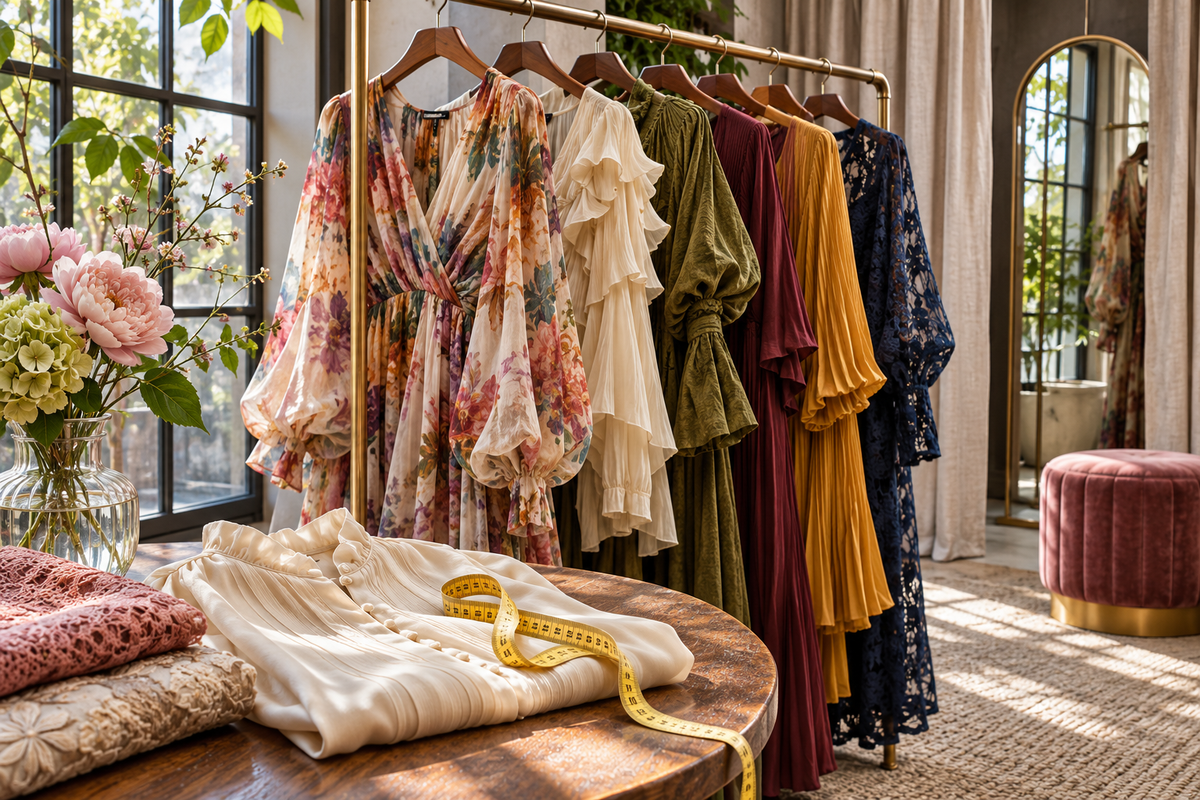
“Does this run small?” is a useful question, but it cannot be answered by a size letter alone. A buyer and a salesperson need three different pieces of information: the customer’s body measurements, the garment’s measurements, and the shape the designer intended. This guide helps a boutique explain the difference, make better recommendations, and send clearer feedback after a try-on.
Start with three distinct measurements
- Body measurements describe the person: usually bust, waist and hip circumference. A size guide based on the body helps choose a starting size.
- Garment measurements describe the finished piece laid flat or measured around. They vary by style even when the label size is the same.
- Ease is the room between body and garment. A relaxed shirt needs more ease than a fitted top. Stretch, lining and intended drape change how that room feels.
When a customer asks whether a piece is “true to size”, first ask how they want it to sit: close to the body, comfortably loose, or deliberately oversized. Then use the size guide as a starting point and the garment’s construction to refine the answer. Never promise a fit from a single number.
Give the team a short fit brief for each new style
At goods receipt, have one team member try the sample or examine it on a mannequin. Record the observations that a customer cannot see from a hanger:
- Where is the garment most fitted: bust, shoulder, waist, hip or upper arm?
- Does it have stretch, a lining, a zip, an adjustable tie or an elastic panel?
- Is the silhouette intended to skim the body or stand away from it?
- Where does the hem fall on the person who tried it, and how tall are they?
- What changes when the wearer sits, lifts an arm or walks?
Keep the note specific. “Fitted at the bust, relaxed through the waist; choose by bust measurement” helps the next salesperson. “Runs small” can mean several different things and often leads to the wrong size recommendation.
Use a consistent fitting-room conversation
Offer two sizes when stock allows, and explain why: “This size follows the body guide; the next size gives you more room at the shoulders.” Ask where the customer feels tension or excess fabric. Check comfort in movement, not only the mirror pose. If a garment is designed with volume, explain that before treating the volume as a fit problem.
Take particular care with matching sets. The best top size and bottom size may differ. If the pieces are sold separately, let the customer choose each size independently. If they are sold as one product, explain the size combination clearly before purchase.
Turn try-ons into useful buying feedback
A good note has four parts: style, size tried, the exact area, and the customer’s reaction. For example: “Customer tried size M; shoulders comfortable, bust felt tight when seated; preferred size L but wanted the shorter length of M.” This gives a buyer or agent something concrete to investigate. Record repeated observations, but distinguish them from one person’s preference.
Review these notes before a reorder. Compare them with exchanges and returns, and check whether the issue is a missing size, unclear product information, or the garment itself. A style can attract attention and still need a clearer fit explanation on the shop floor.
A five-minute team handover
- Pick one new garment and name its intended silhouette.
- Show the body size guide and one relevant garment measurement.
- Identify the area that decides the size choice.
- Demonstrate one movement check.
- Write one sentence the whole team can use with customers.
Clear fit language helps customers make informed choices and gives the buying team better evidence for its next order. To explore the collection and discuss style-specific fit with the Be Sunset team, apply for wholesale access.